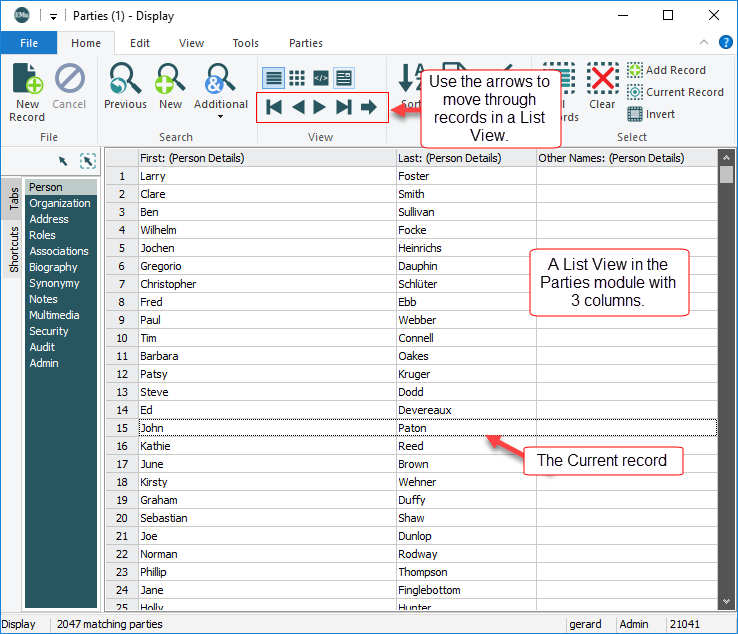
In List View, records are displayed in a table with one or more columns; each record is a row in the table; each column is a field in the record. It is possible to create your own List Views, specifying which fields to display; and to select which List View to use.
Most modules include at least one List View comprising Summary Data![]() Every record has a Summary Data field. Summary Data is a combination of key data in a record (taken from one or more fields). In Details View the current record's Summary Data displays beneath the Ribbon. A target record's Summary Data displays in an attachment field when an attachment has been made. Which field or combination of fields in a module is used to make up Summary Data can be specified by each institution (and implemented by Axiell developers)..
Every record has a Summary Data field. Summary Data is a combination of key data in a record (taken from one or more fields). In Details View the current record's Summary Data displays beneath the Ribbon. A target record's Summary Data displays in an attachment field when an attachment has been made. Which field or combination of fields in a module is used to make up Summary Data can be specified by each institution (and implemented by Axiell developers)..
To view records in List View:
- Click
 on the Home tab of the Ribbon.
The results of your search display in a list with predefined columns. Each column is a field in a module. The Status bar indicates the total number of records displaying in the current List View:
To move from one record to another in a List View:
- Use the navigation arrows on the Home tab of the Ribbon
-OR-
Use a keyboard shortcut (
F5moves to the previous record andF6moves to the next record).
It is possible to create and edit your own List View, specifying which fields to display, and to select which List View to use to display records. You can also change the order of columns and resize them. It is also a simple matter to copy and paste data out of List View.
Tip: A very simple way to report in EMu is to create a List View with the fields on which to report, run a search and then copy and paste the data in List View into MS Excel, for instance.
Each module can have a number of List Views, each one using a different subset of fields to present the results of a search.
You can select a List View that you created previously or, if you have been given permission, you can select a List View created by another user.
To select a different List View (either before or after you've run a search):
- Select Choose (List Settings) on the View tab of the Ribbon.
The Fields box will display and the current List View is highlighted:
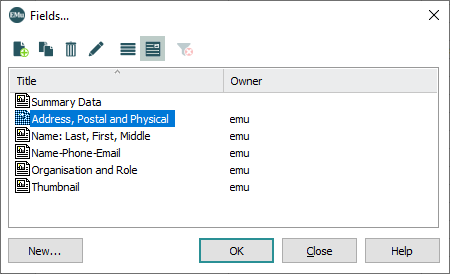
- Select a different List View and click OK.
You can create your own List View, specifying which fields to include and in what order they are to display:
- Select Choose (List Settings) on the View tab of the Ribbon to display the Fields box.
- In the Fields box, click New to display the Field Properties box.
-
Enter a descriptive name for the List View in the top text field:
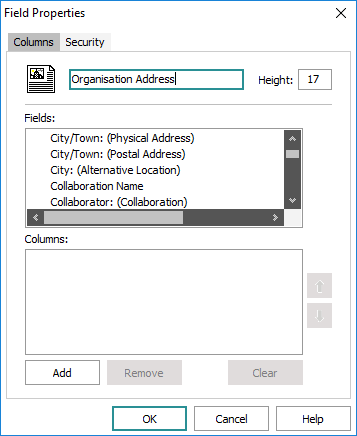
Note: The default row height is 17 pixels (21 pixels if the Image Display Icons column is added to the List View). If one of the fields in the List View is a multimedia field, you may want to increase this height (e.g. to 90) in the Height field.
- Select a field in the Fields list and click Add
-OR-
Double-click the field.
The field is added to the Columns list.
Continue to add all the fields you wish to include in the List View.
- Use the Up and Down arrows to the right of the Columns list to move a field to the position in which it is to display (the first field in the list is the first column, and so on).
- Click OK to add the new List View to the Fields box.
The owner / creator of a List View can change its settings.
- Select Choose (List Settings) on the View tab of the Ribbon to display the Fields box.
- In the Fields box, select a List View and click Properties
 to display the Field Properties box
-OR-
Right-click a List View and select Properties from the menu that displays:
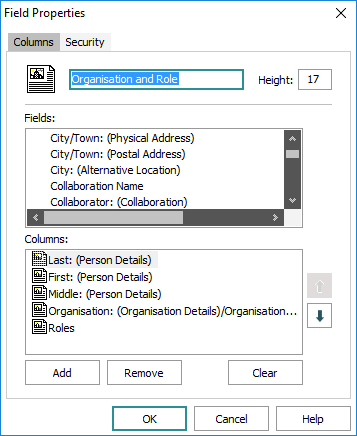
- Add or remove fields as required.
- Use the Up and Down arrows to the right of the Columns list to move a field to the position in which it is to display (the first field in the list is the first column, and so on).
- Click OK to save the changed settings.
Note: Only the creator of a List View is able to save changes to the order or size of a List View's columns.
To change the size of columns in a List View:
- Select the List View that you wish to modify.
- Hold the mouse down over a column header edge until the double arrows display:
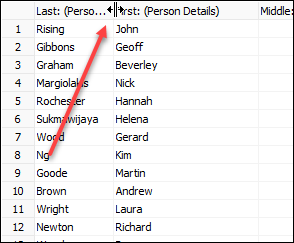
- Drag the mouse to the right or left to increase or decrease the column width.
To change the order of columns:
- Hold the mouse down over a column header and drag the column before or after another column.
- Release the mouse.
To save the settings:
- Select Save (List Settings) on the View tab of the Ribbon
-OR-
Right-click a column and select Save List Settings from the menu that displays.
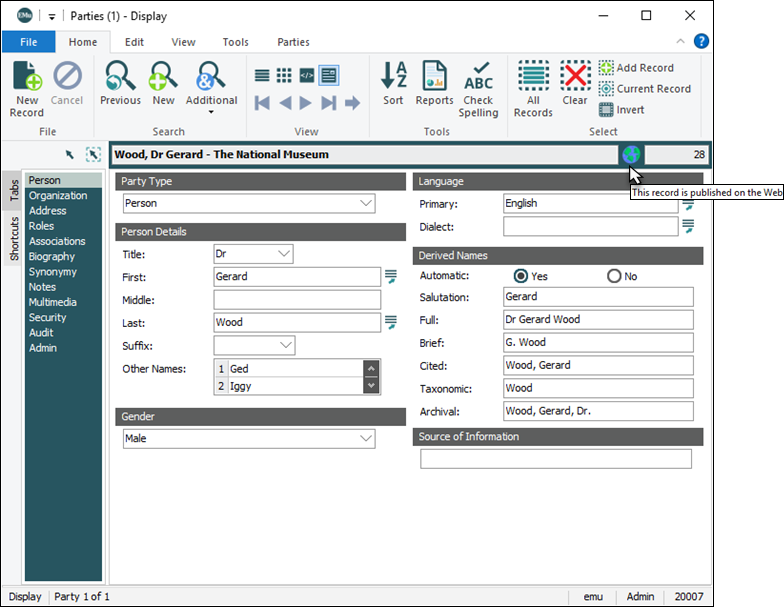
With the Image Display Registry entry it is possible to display an image (as a visual alert, warning or reminder) beside the Summary Data in a module window based on values in a record's data. For example, if Publish on Internet: (Access) = Yes, it is possible to display an image as shown below. It is also possible to configure a sound to be played when the record is accessed and a hint to be shown when the mouse cursor is placed over the image:
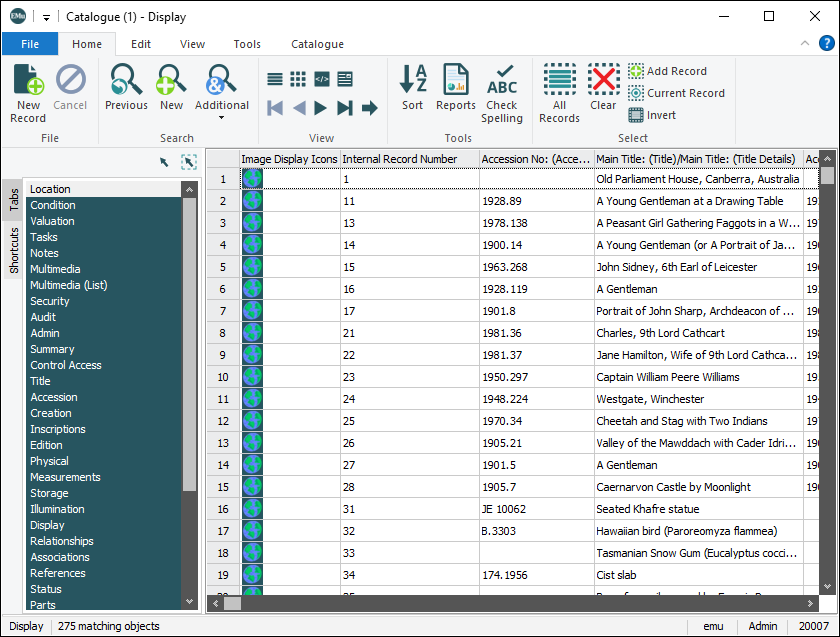
The image (sound, hint, etc.) can also be displayed in a List View by adding the Image Display Icons column to the List View (explained above). The default row height will increase to 21 pixels (when the List View is saved, not when the Image Display Icons column is added to the List View).
In this example we add the Image Display Icons column to a List View called Export:
![]()
When records are viewed using the Export List View, the image specified in the Image Display Registry entry is displayed when the conditions specified in the Registry entry are met:
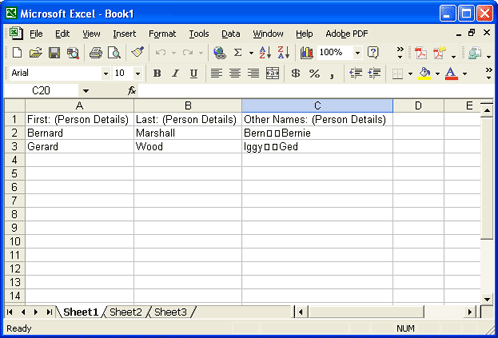
If a row includes the image and we copy the row (right-click a row and select Copy from the context menu that displays) and paste the data, the file name of the image (without the file extension) is pasted by default (if the file name is world.gif, the pasted text will be world); it is possible to specify alternative text to copy and paste. In this example, a row in List View was copied and pasted into Excel and alternative text was specified in an Image Display Registry entry:

In List View it is a simple matter to copy data and paste it into another application:
- Search for or retrieve a group of records.
- Select or create a List View that includes the required fields.
- Select the records in the List View.
- Copy the records:
Use the keyboard shortcut,
CTRL+C-OR-
Right-click the selected record(s) and select Copy from the menu that displays
-OR-
Click Copy on the Edit tab of the Ribbon.
- Paste the selected records into another application.
A problem can arise when pasting the data into another application however: a column in the EMu List View that contains paragraphs of text or tables of values may not display properly. In some instances, one or more carriage return symbols (a square box) may display in place of a newline; data from separate rows may display on a single line, etc.:
This can occur because different applications and platforms expect a particular character at the end of a paragraph (in text fields) or at the end of a row (in a table of values) and that character may be different from that which EMu uses by default.
The solution is to use the Copy Special utility.
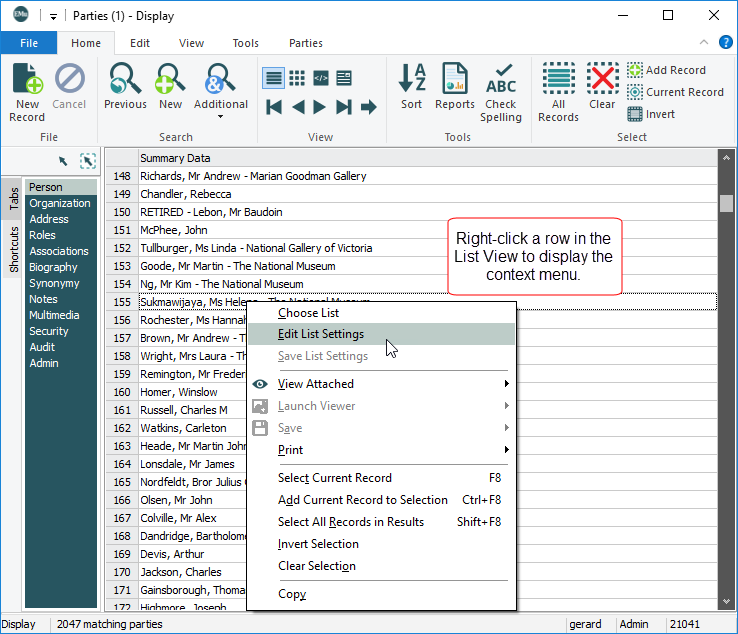
A context menu with many useful options can be accessed by right-clicking a row in the List View:
| Option |
Shortcut |
Description |
|---|---|---|
| Choose List |
|
Display the Fields box with the list of available List Views. Same as selecting Choose (List Settings) on the View tab of the Ribbon. |
|
|
Display the Field Properties box for the current List View and modify the List View as required. Same as selecting Edit (List Settings) on the View tab of the Ribbon. |
|
|
|
The creator of a List View can resize columns and change the order of columns (via drag and drop); click Save to save these changes. Same as selecting Save (List Settings) on the View tab of the Ribbon. |
|
|
View Attached |
|
If one of the columns in the List View displays multimedia, select this option to launch the Multimedia module and display the record for the current (or All attached) multimedia. |
|
Launch Viewer |
|
If one of the columns in the List View displays multimedia, select this option to open the multimedia with the application associated with its file type. |
|
Save |
|
If one of the columns in the List View displays multimedia, select this option to download and save the multimedia. |
|
|
|
If one of the columns in the List View displays an image, select this option to print the image. |
|
Select Current Record |
|
Note: All other records will be deselected. |
|
Add Current Record to Selection |
|
Select the current record |
|
Select All Records in Results |
|
Select all records currently displaying in the List View. |
|
Invert Selection |
|
Invert the selection, i.e. records selected become unselected and records unselected are now selected. |
|
Clear Selection |
|
Deselect all records. |
|
Copy |
|
For all selected records, copy details displaying in the List View to the clipboard. |
